Role Access
Role Management
Efficient role management ensures secure and streamlined user access control. Follow the steps below to create roles and assign role access permissions.
Creating a Role
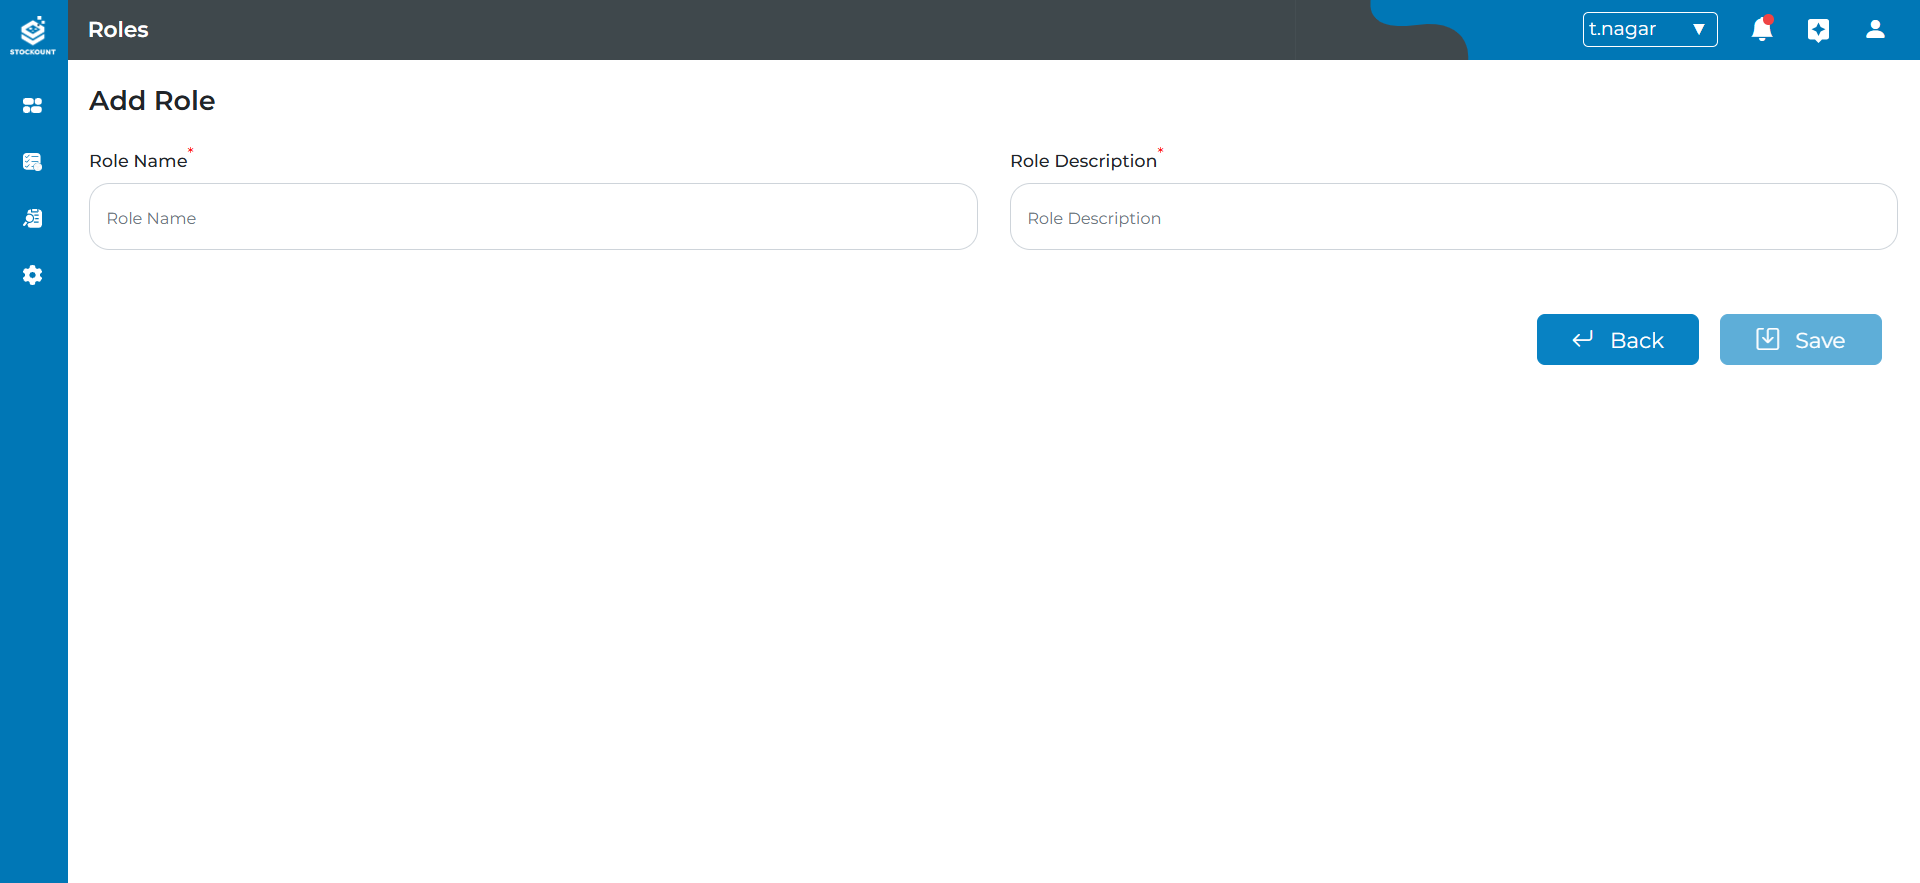
Enter Role Details
- Role Name*: Provide a unique name for the role (e.g., Auditor, Admin).
- Role Description: Add a concise description of the role’s purpose and responsibilities.
(Fields marked with an asterisk () are mandatory.)*
Save the Role
- Click the Save button to create the role.
- The role will now be associated with the Company and Branch.
Back Button
- Before Save: Return to the previous page without saving.
- After Save: Return to the previous page.
Adding Role Access
 Granting access permissions to roles ensures secure and efficient operations. Follow these steps to assign role access:
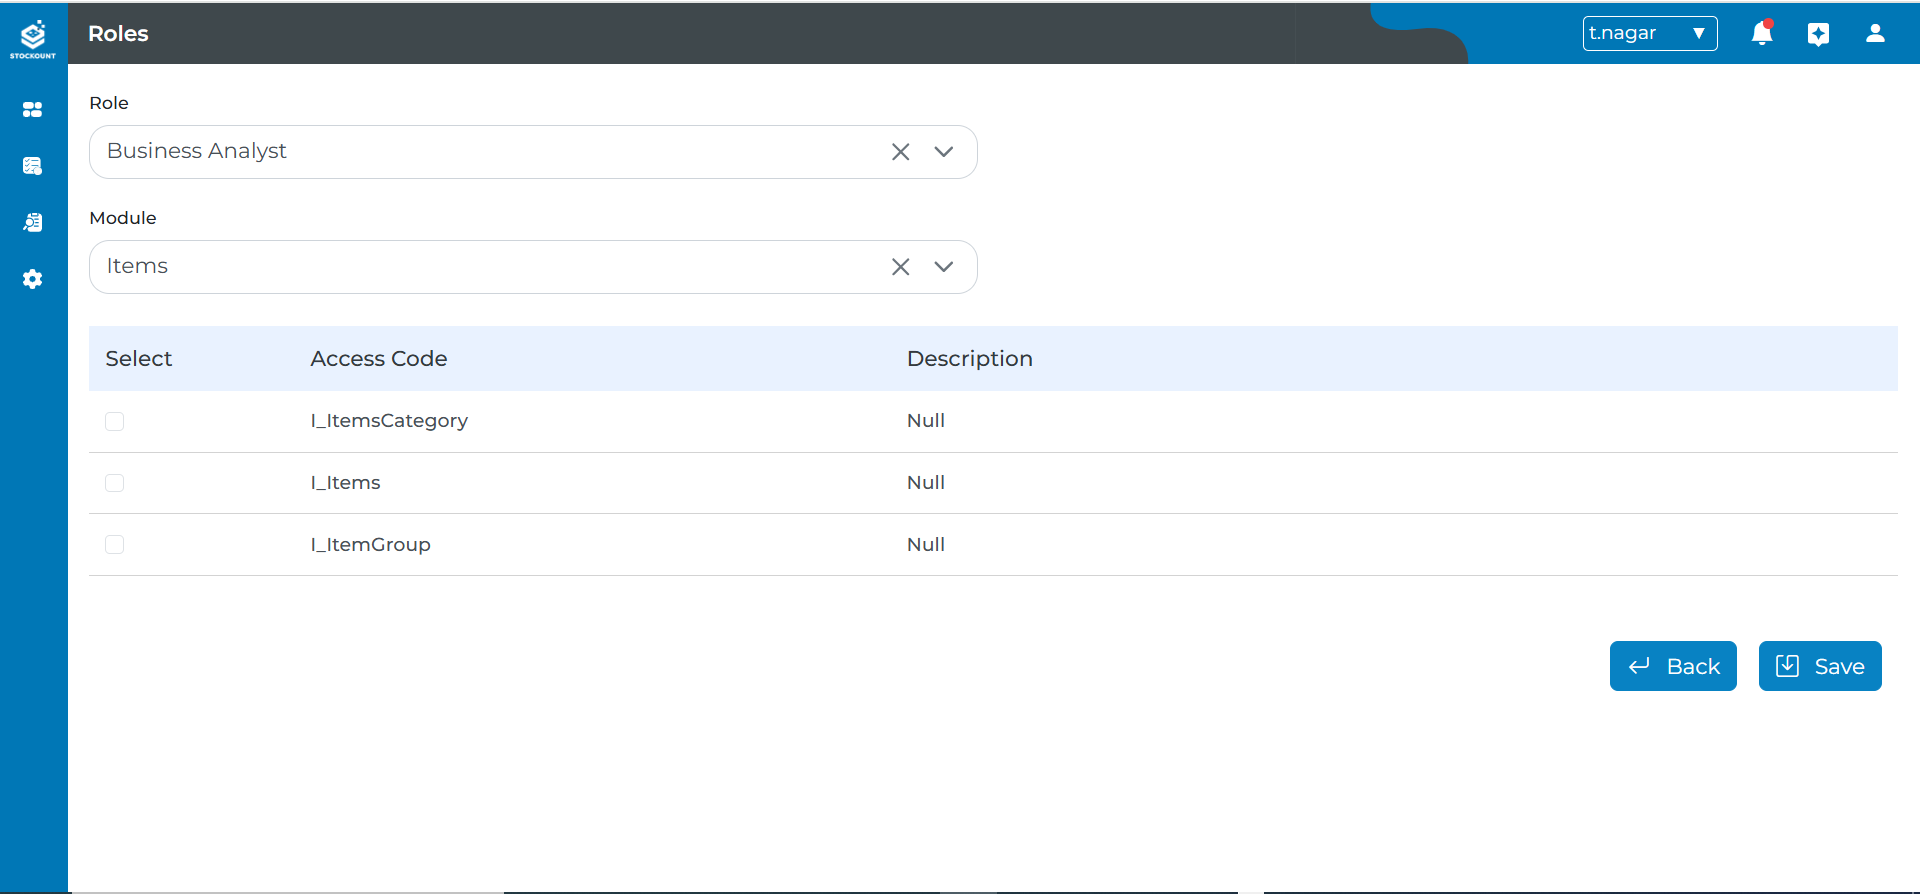
Select Role and Module
- Role*: Choose a previously created role from the dropdown menu.
- Module*: Select the relevant module(s) (e.g., Inventory(Item), Audits) from the dropdown list.
- Once a module is selected, the corresponding Access Code with its Description will be displayed along with a Checkbox for selection.
- Assign Permissions: Check the desired access permissions by selecting the corresponding checkboxes.
(Fields marked with an asterisk () are mandatory.)*
Save Role Access
- Click the Save button to apply the access permissions.
- Based on the assigned role, users will have access to the corresponding module pages.
Back Button
- Before Save: Return to the previous page without saving.
- After Save: Return to the previous page.