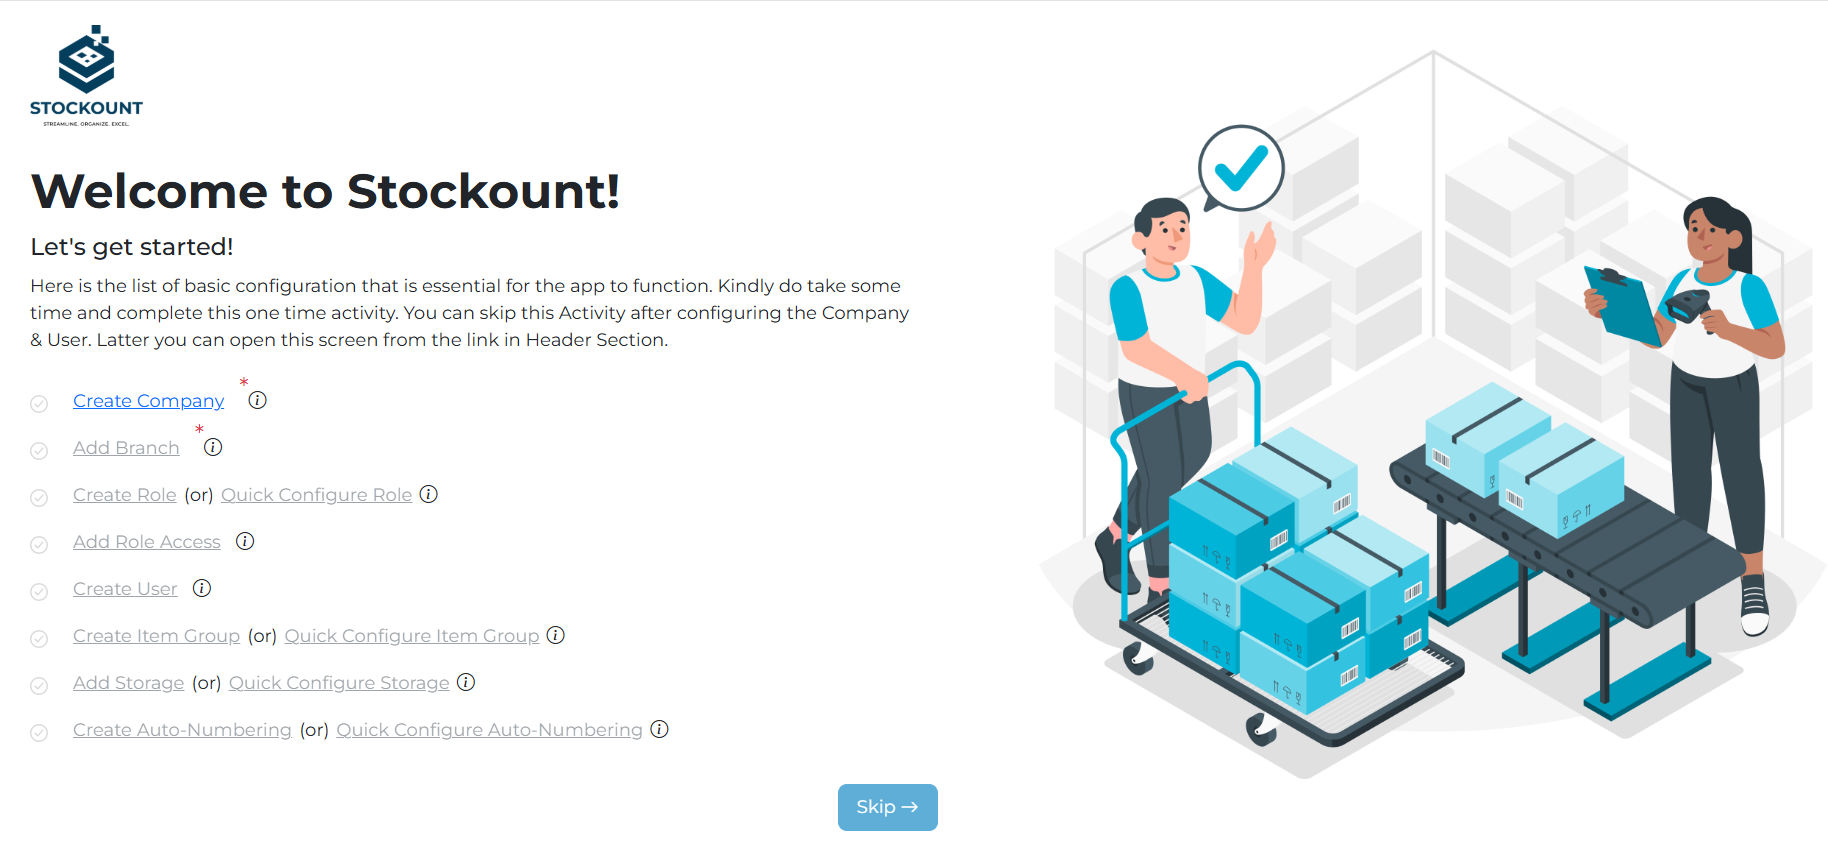
Interface Overview
Post-Login Navigation

Setup Company Profile
- Upon logging in, you will be navigated to the Company Profile Setup page.
Manage Company and Branches
- Add your company's details, such as:
- Company Name
- Contact Information
- Address
- Create and manage multiple branches under your company profile.
Role Management
- Define and create roles for different types of users (e.g., Admin, Auditor, Manager).
- Assign specific role access permissions to ensure secure and role-specific operations.
User Management
- Add users to the system by associating them with roles.
- Manage user access and permissions from this interface.
- This setup ensures your company’s hierarchy, permissions, and users are organized efficiently for optimal operation.
Landing Page - Inventory Dashboard
Once the initial setup is complete, the system redirects you to the Inventory Dashboard, which serves as the central hub for operations.
Header Features
- Branch Selector: Switch between branches seamlessly using the dropdown. Modules and data displayed will dynamically update based on the selected branch.
- Welcome Assistant: A personalized greeting or quick links to help you navigate the system easily.
- Notification Icon: Access alerts, updates, and system notifications.
- Profile Management Icon: Manage your profile settings or log out from the system.
Navigation Bar (Left Panel)
- The Nav Bar contains links to various modules such as:
- Inventory
- Sales
- Purchases
- Audits
- Reports
- Clicking on a module will populate relevant data and functionality in the Central Workspace.
Central Workspace
- This area displays detailed data and tools specific to the selected module.
- Dynamically updates to reflect the branch, module, and operation being performed.
- Ensures a seamless experience, allowing you to manage inventory and related processes efficiently.
Key Modules
About Key Modules
The two key modules in the system are Inventory and Audits.
Inventory Module
The Inventory module allows users to manage inventory effectively by configuring Item Groups, Categories, and adding Individual Items.
1. Item Group Creation
Steps:
- Navigate to the Item Group section and click the Add Group button.
- You will be directed to the Basic Details page. Provide the following inputs:
- Group Name
- Trade
- Inventory Type (Unit, Serialized, or Batch)
- Costing Type
- Additional Details Based on Inventory Type:
- Unit Type: No extra details are needed.
- Serialized Type: Specify the Unique ID Count to determine how many unique IDs need to be assigned.
- Batch Type: Configure settings using checkboxes for:
- Tracking Expiry Date
- Tracking Production Rate
- Allowing Control, Editing Sale Price, Discounts, Negative Sale Rates, Changing Invoice Dates, and Stock Returns.
- Click Save to proceed.
2. Barcode Configuration
- After saving the Item Group, switch to the Barcode Configuration tab to define barcode settings.
- Choose from the following barcode types:
- Barcode - EAN13: For items with a 13-digit numeric EAN.
- Barcode - Code128: To create a barcode for your items.
- QR Code: To create a QR code instead of a barcode.
- Splitters: Choose splitters as needed for barcode formatting.
- Add sections using the Add button or clear selections using the Clear button.
- Once configured, click Save to successfully create the Item Group.
Creating Categories
- Navigate to the Item Category section via the Nav Bar.
- On the Category Listing page, you can:
- Search for existing categories using the search bar.
- Add a new category by clicking the Add Item Category button.
- On the Add Category page, provide:
- Category Name
- Group Name (assign the category to an existing Item Group).
- Click Save to create the category.
Adding Items
Quick Add Item
- Navigate to the Item Page via the Nav Bar.
- Use the Quick Add feature to add items efficiently:
- Fill in mandatory fields such as:
- Category
- Item Name
- Item Code
- Selling Price
- Cost Price
- UOM (Unit of Measure)
- Storage
- EAN/QR Code
- Tax Rate
- Fill in mandatory fields such as:
- Click Save to save the item or Clear to reset the inputs.
Detailed Item Addition
- For a more comprehensive item configuration, click the Add Item button.
- On the Add Item page, fill out additional fields such as:
- Description
- Tax HSN
- ABC Classification
- FMS Classification
- Click Save to create the item with full details.